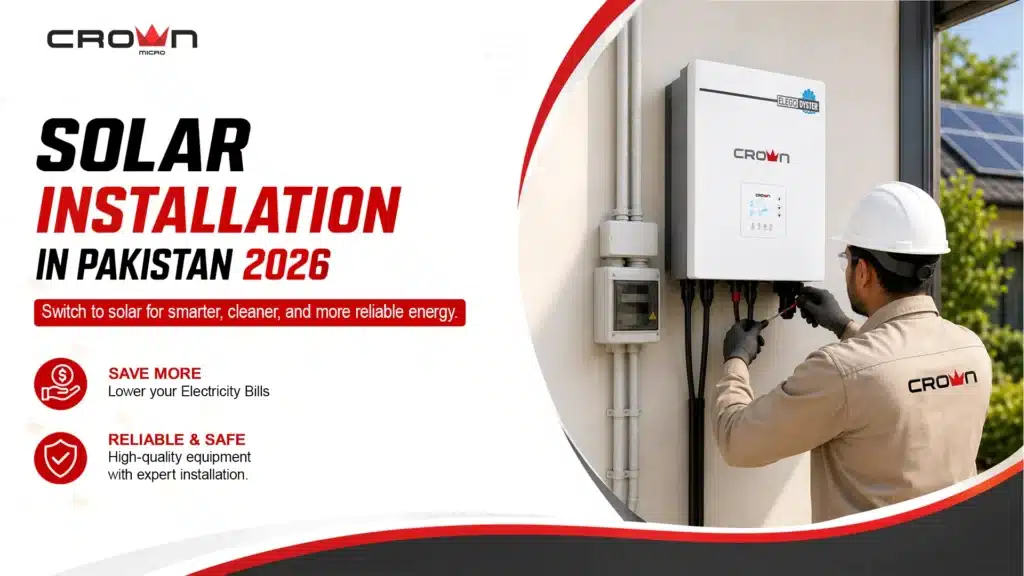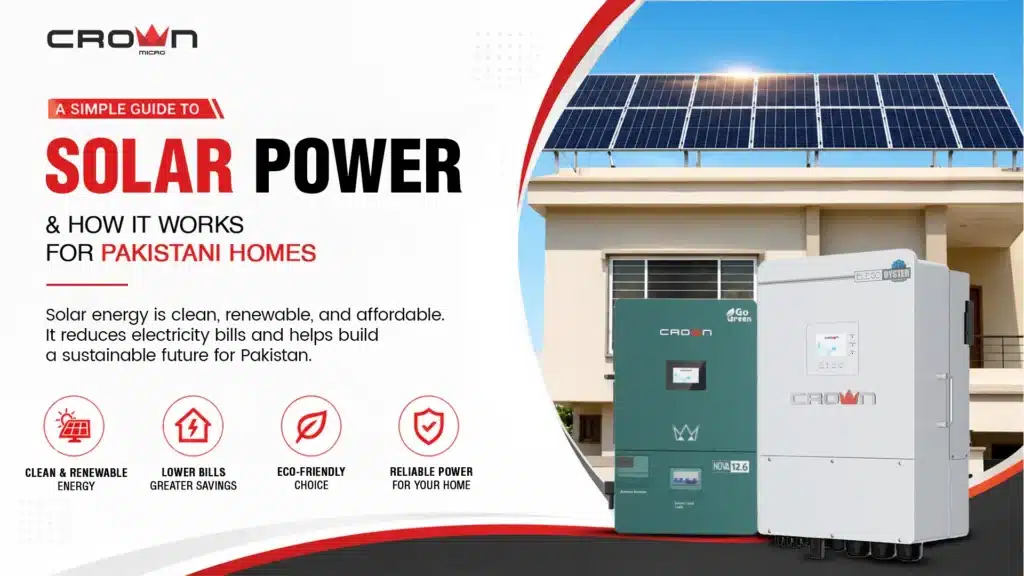

Looking for installation? Crown Inverter by Crown Micro Global provides an uninterrupted power supply to homes and offices as a complete power solution. When you seek optimal performance and safety, you must understand your inverter installation and know the size that is best for you.
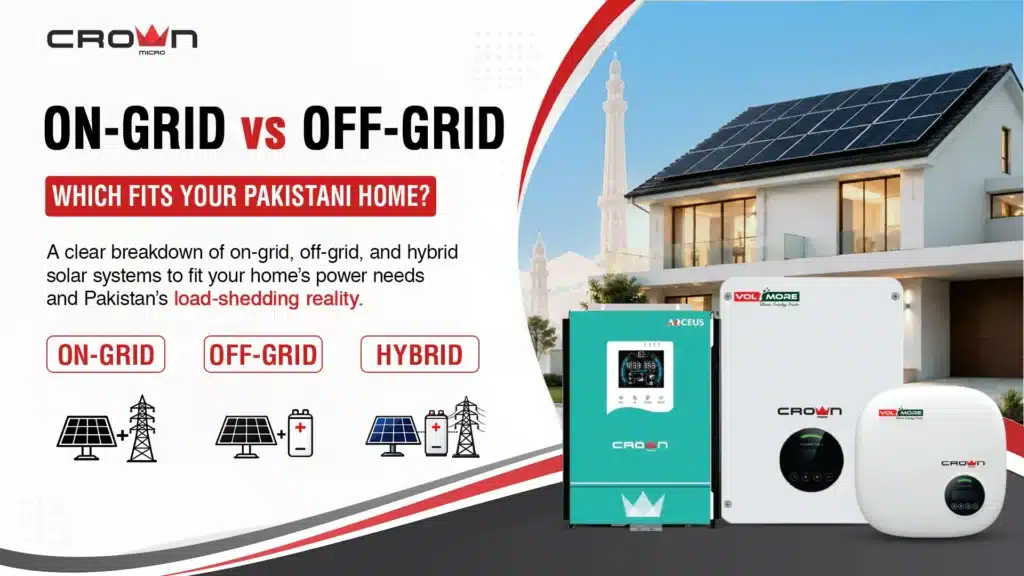
Sudden power outages render life a hassle, and it heightens the need to install an inverter. Being one of the leading brands, Crown Micro has affordable inverter solutions, whether it is off grid, on grid, or even hybrid inverter solutions as sustainable forms of power supply.
To provide the best performance and use the inverter to shield your gadgets against surges, installing the inverter is a smart choice. In this guide, you will explore everything about installing your Crown inverter, from how the inverter works to powering on the device and testing it to ensure lower bills and high energy efficiency. So, without further ado, let’s explore all about inverter installation.
Crown Inverter Right Type For Installation
Before starting the installation, it’s essential to know about the type of Crown inverter that comes in three models:
- Crown Micro Hybrid Inverter
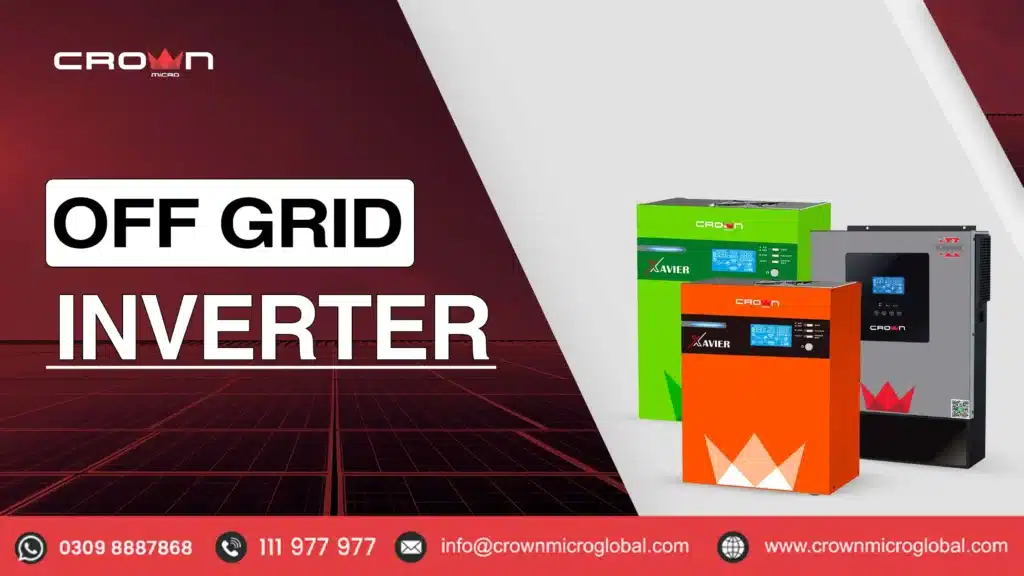
- Crown Off Grid Solar Inverter
- Crown On Grid Solar Inverter
Each has slightly different installation needs, according to different solutions, but the core wiring and safety principles remain the same for all.
Tools and Equipment You’ll Need
With an inverter purchase, you need to know all about the equipment required, from electrical taps to multimeters for testing. These tools help you in the installation of a solar solution, especially when you hire an installer; they must have all the necessary tools, like
- Wire stripper and cutter
- Electrical tape
- Battery cables (thick gauge)
- fuses or circuit breakers
- Mounting screws
- Wall plugs
- Multimeter (for testing voltage)
- Personal protective gear (gloves, safety glasses)
Safety Measures
Always use safety precautions because inverter installation involves high-voltage DC and AC wiring. Little risk can become hazardous for the property and your life too, so take care of safety by following the precautions.
- Before beginning installation, turn off the main power.
- Installation should not be done in damp, dusty, or poorly ventilated spots.
- Please store the inverter out of the flammable materials and away from direct sunlight.
- Use a high-quality, thick cable according to the inverter capacity
- Ground the inverter properly.
Right Installation Location
The position of the installation is an issue when the installer is installing an inverter. Ensure that the area is well ventilated, cool, and dry. Sufficient air circulation must be left to 6 inches. Do not put it in direct sunlight to overheat. Installation near batteries should not be done when there is inadequate ventilation. Ventilation is also required during the installation of the batteries. Install your inverter where it is easily accessible but does not in any way obstruct the battery.
Mounting the Inverter
The first thing to do before mounting the inverter is to screw the points to fix the inverter bracket. Install in a drill and then attach the inverter to the wall, and make it vertical, as it will dissipate the heat more effectively.
Connecting the Battery
You have to connect the batteries first in case you want to install a hybrid solar inverter or require an off-grid system. The battery terminals are to be known as positive or negative. Insert the red inverter cables in the positive terminal and the black cable in the negative terminal. Ensure that the connections are well-fitted, as loose connections can cause sparks. The battery should be connected to the inverter using a high-quality switch/fuse/circuit breaker. In turning on, make sure that the polarity is right; otherwise, you will blow up your inverter and waste all the money that you spent on it.
Networking with Solar Panels
After installing the best solar panels in Pakistan, you need to connect your crown inverter to the panels to achieve maximum power for your home. Connect the solar panel’s negative terminal with the negative terminal of the panel and ensure your panels are connected in series or parallel as recommended in the crown manual guide of installation. Attach a solar isolator switch between the panels and inverters.
Connecting to the AC Supply
Connect the inverter to the AC supply of your house by connecting the AC supply of your inverter with the main supply. Next, the AC output is to be connected to the distribution board, a proper circuit breaker is to be used to be safety. Do not plug heavy appliances when the size of the inverter is not sufficient to handle the heavy load.
Grounding (Earthing)
Grounding is necessary so that your equipment is not damaged by electrical surges. To perform grounding, connect a copper grounding wire from the crown solar inverter terminal to a proper earth rod. Ensure the resistance is less than 2 ohms.
Power On and Testing
Installation is complete. Now, it is time to switch on your inverter by pressing the power button. Check the display: a green light indicates normal operation, while a red light signifies a fault. Start with small loads like lights and fans, and then gradually increase heavy loads. Check the AC out using a multimeter to determine 220V.
And have fun with your inverter installation. When you take it one step at a time, you will have nothing to be afraid of, whether you are right or wrong. The majority of individuals have their inverters fitted by skilled technicians who know the variations of different models of inverters and can easily install them.
Maintenance tips for a long-life Crown inverter
For better inverter performance, you must know about some tips, like:
- Save your inverter and batteries from dust by regularly cleaning them.
- Check the water level of the battery
- Clean your solar panel to enhance the efficiency after every 2 months with simple water
- Care about tightening all loose terminals.
- Avoid overloading the inverter.
- Schedule professional maintenance once a year.
Frequently Asked Question(FAQs)
What equipment do you have to install an inverter?
As an installer, you must have:
- Wire stripper and cutter
- Electrical tape
- Battery cables
- Fuses or circuit breakers
- Mounting screws
- Wall plugs
- Multimeter
- Personal protective gear
With the Inverter, what accessories do you need to buy more?
You need a Solar panel, a Mount frame, and the batteries if you install a hybrid solar inverter Lahore, and the fuse, wire, and clips before installing an inverter
Final words
Finally, you know, you are equipped with the installation procedures for installing a Crown inverter with these easy step-by-step processes by Crown Micro Global. The installation of an inverter is not an easy process, as long as you follow the step-by-step instructions. In addition, purchasing a Crown Micro inverter will reduce the solar inverter price in Pakistan since it is compatible with any battery or any panel. So make your installation easy and affordable with Crown Micro.