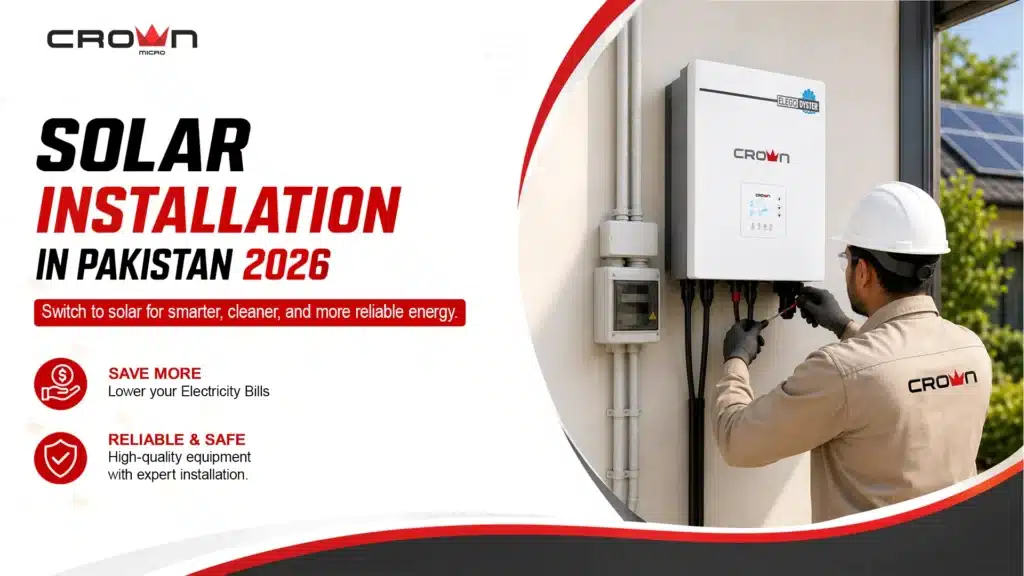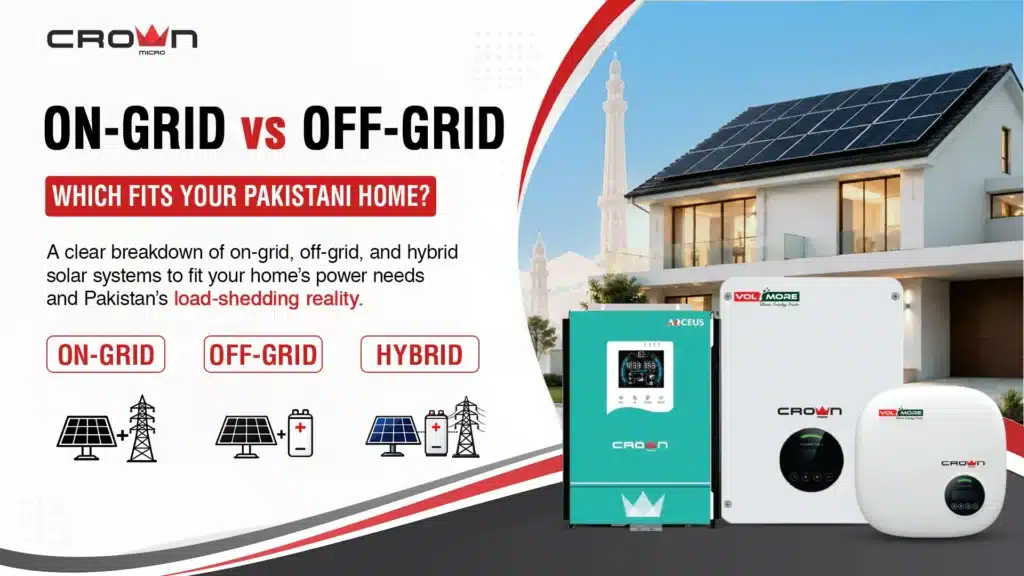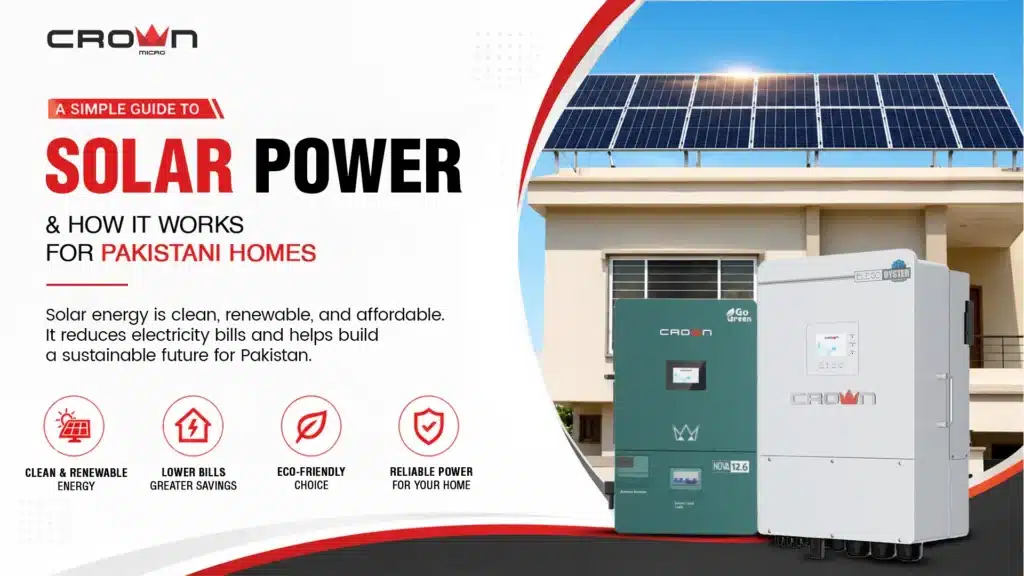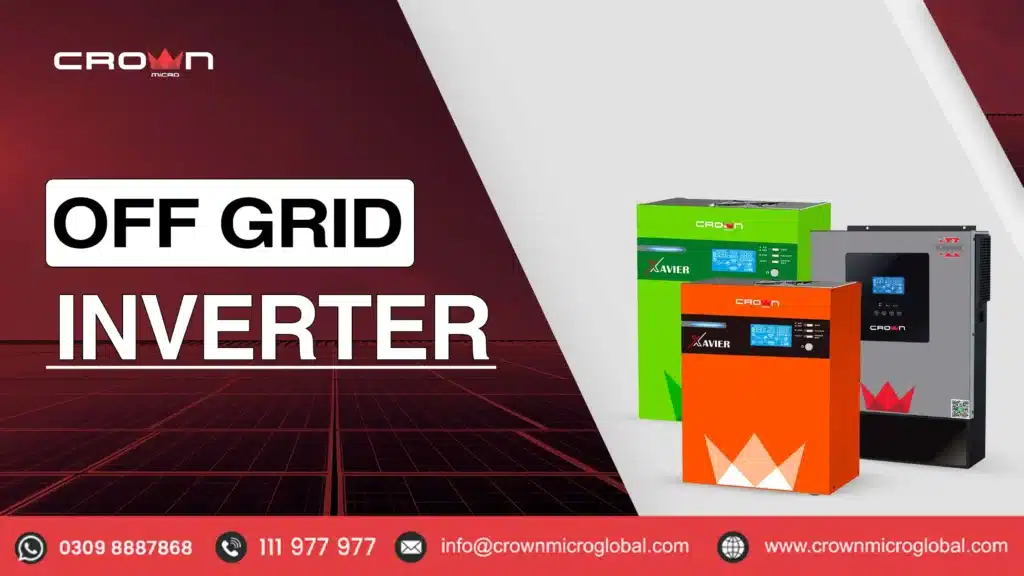

The installation of an inverter is such a daunting task that it needs professional help and the proper steps to follow. With Crown Micro Global, you get a perfect installation solution that helps you to offer efficient and long-term solar performance when you install a Crown solar inverter, creating a connection with a battery and solar panel that ensures better performance and improves your installation cost.
Installing an inverter is not a luxury but a solution to power outages that disrupt regular operations. With a stable output and excellent compatibility, you get a continuous power and backup solution.
In this blog, you explore the step-by-step installation procedure to ensure the right installation, as an inverter is not like other devices that work on a plug-and-play method; it requires creating a connection between panels and the battery to achieve better performance, which requires technical knowledge or hiring a professional. So, without letting’s explore the installation procedure for making an inverter perform better, with its installation
Crown Solar Inverter Installation
Inverter installation takes time and needs technical knowledge, but in all, you can’t do it alone; you need a professional to make a circuit for connecting panels, battery, with the output and input of the solar inverter. With the supervision of an electrician, these steps help you to install a solar inverter and also reduce installation costs.
An inverter is a brain that manages the solar system by managing:
- Solar power coming from the panels
- Battery charging
- AC output that runs your appliances
- Grid input (if hybrid or on-grid model)
With the help of correct installation, you get maximum energy generation that reduces the dependency of the grid, saves monthly bills, also ensures long inverter and battery life by ensuring smooth connectivity saves from battery overcharging and deep discharging, and ensures zero safety hazards with intelligent switching between the grid, panels, and the batteries, provides a smooth power supply, improves work performance helps to reduce the crown inverter price in Pakistan with the proper installation that offers better performance.
Home Installation Guidelines for Your Inverter
Ideal Location
Selecting a location plays a keen role in inverter performance. You need a well-ventilated, shaded area to mount your inverter on a solid fireproof wall. The palace must be away from the moisture, heat, or direct sunlight as it can lower the life of an inverter by overheating, but with ventilation and offering cooling, you can install your inverter for better performance and for a long life.
Gather All Tools and Components
To install an inverter, one requires a decent tool set, which consists of a Screwdriver set, a Drill machine, a measuring tape to determine the length prior to attaching an inverter, an MC4 insulation tape, an MC4 crimping tool, and cutting wire and stripping. Components, including the solar inverter, that require a complete setup are:
- Crown solar inverter
- Solar panels
- DC cables (red + black)
- Battery bank (if required)
- AC cables
- Breakers (AC & DC)
- Earthing wire
Mount the Crown Solar Inverter
Mount your inverter using the Mark drilling points with a drill, and insert wall plugs. Install the mounting inverter into the mounting bracket. Suspend the inverter in the bracket and screw the bracket. Loose connections should be avoided to prevent vibration.
Install Battery Bank
Using a hybrid solar inverter and an off-grid inverter, one needs to connect the positive end of the battery to the positive terminal of the inverter and the negative end of the battery to the negative terminal of the inverter using high-quality copper cables. However, the circuit breaker is to be switched off, and the battery is to be wired.
Solar Panels Connectivity
Solar panels are safe and efficient in their performance. Intersect all the panels either in series or in parallel, and you have a greater voltage. With parallel connectivity, you get higher current with MC4 connectors and secure, long-term connections. Red Wire shows the +ve, the black wire shows -ve to connect the inverter. Also, add a DC isolator to protect the system and allow safe maintenance.
Connect the Grid Input
With a Grid and a best hybrid inverter, you need inverter connectivity to the grid input; connect the main AC supply to the grid input terminal. Use an MCB breaker with the main supply and the inverter. Ensure correct polarity (line, neutral, earth).
Connect the AC Output
Install an inverter AC output terminal as well as connect it to the distribution board, and install an MCB to cover the output line.
It is important to make sure that the appliances loaded on the inverter do not exceed the output of the inverter. To ensure that you do not experience intermittent connection, in case you have a high load demand, turn up the inverter and the panels.
Add Earthing/Grounding
Proper grounding helps you to protect your system from faults and lightning. Connect the grounding inverter terminal to the earth rod of your home, and use a thick green or yellow wire for the earth connectivity. Never miss the grounding setup; it’s essential to protect your inverter, battery, and appliances.
Configure the Crown Inverter Settings
Once the solar system wiring is complete, turn on the breakers of Solar, battery, and the grid breaker, and start your inverter. Now, manually configure your crown inverter by selecting battery type, charging current, output priorities, time-based charging system, and the backup load priority by prioritising appliances that need to run while load shedding
System Testing
Before finalising your hybrid solar inverter or any inverter model, you need to perform testing of all equipment to ensure it works properly with your inverter by checking that the input appears on the display, battery charging, AC output is stable, the inverter switches easily between grid, panel, and battery, and there are no unusual sounds or heating you feel. If no problems occur, you save on installation costs and make your inverter installation affordable; if you have no knowledge of technical issues, hire a professional to ensure the installation procedure is carried out correctly.
With Crown Micro Global inverters, you have multiple options to save cost, like with backup, reduce local grid dependency, compatibility with panels, batteries, and MPPT that help to work best in any weather condition with the best solar panels in Pakistan. Stress less and go green today, and have a sustainable power solution.
Frequently Asked Questions
Can I install my Crown solar inverter by myself?
Yes, you can easily install your inverter at home if you have the required tools and have technical knowledge, then without a professional, you can easily install your inverter at home.
Can I lower the inverter Price to lower the installation cost?
Yes, you lower the installation cost if you choose a solar inverter because it allows you a compatibility option to purchase any solar panel. It means you easily reduce the inverter installation cost with affordable panels
Final Words:
Finally you know well about the Crown Solar Inverter home installation that help home owner to install your inverter at home if you have the necessary tools and the knowledge of electrical work how to perform connections properly then you easily install Crown Micro Global Inverter at homes a DIY Project but if you don’t have idea or no availability of tools then hire a professional installer is a best option offer you reliable power connectivity that ensure high inverter performance more then your installation cost. So switch to smart installation and get high performance with better installation.